How to Make Your Own DIY Pillow Cover at Home
 Creating your own pillow cover at home can be a fun and rewarding project. Whether you’re looking to refresh your living space, add a personal touch to your decor, or make a custom cover for a dakimakura (body pillow), this guide will walk you through the steps to make a beautiful and unique pillow cover. With a few materials and some basic sewing skills, you can create a pillow cover that reflects your style and creativity.
Materials You Will Need
Before you start, gather the following materials:
Creating your own pillow cover at home can be a fun and rewarding project. Whether you’re looking to refresh your living space, add a personal touch to your decor, or make a custom cover for a dakimakura (body pillow), this guide will walk you through the steps to make a beautiful and unique pillow cover. With a few materials and some basic sewing skills, you can create a pillow cover that reflects your style and creativity.
Materials You Will Need
Before you start, gather the following materials:
- Fabric of your choice (cotton, linen, or any durable material)
- Sewing machine or needle and thread
- Scissors
- Measuring tape or ruler
- Pins
- Zipper or buttons (optional)
- Iron and ironing board
Step-by-Step Guide
Step 1: Measure Your Pillow
First, measure your pillow to determine the size of the fabric pieces you will need. For a standard pillow, measure the length and width, and add an extra inch to each measurement for seam allowances. If you're making a cover for a dakimakura, ensure you measure the full length and width accurately.
Step 2: Cut the Fabric
Using your measurements, cut two pieces of fabric. These will be the front and back of your pillow cover. Make sure to cut straight lines to ensure your pillow cover will be even and professional-looking.
Step 3: Prepare the Fabric
Before sewing, iron the fabric pieces to remove any wrinkles. This will make it easier to sew and result in a cleaner finish. If you’re adding a zipper or buttons, now is the time to mark where they will go on the fabric.
Step 4: Pin the Fabric
Place the two fabric pieces together with the right sides facing each other. Pin the edges to keep them in place while you sew. If you’re adding a zipper, pin it along one of the shorter sides.
Step 5: Sew the Edges
Using a sewing machine or a needle and thread, sew around three edges of the fabric, leaving one edge open for inserting the pillow. If you’re adding a zipper, sew it in place on the open edge. Make sure to backstitch at the beginning and end to secure the stitches.
Step 6: Add the Closure
If you’re using buttons instead of a zipper, sew buttonholes on one piece of fabric and attach buttons on the corresponding spots on the other piece. This will allow you to close the pillow cover securely.
Step 7: Turn the Cover Right Side Out
Carefully turn the pillow cover right side out through the open edge. Use a pencil or a chopstick to push out the corners, making them crisp and neat. Iron the cover again to smooth out any wrinkles.
Step 8: Insert the Pillow
Insert your pillow or dakimakura into the cover. Adjust it to make sure it fits snugly and evenly inside the cover. Close the zipper or button the buttons to secure the pillow inside.
Customizing Your Pillow Cover
Making your own pillow cover gives you the freedom to customize it in any way you like. Here are some ideas to make your pillow cover unique:
- Add trims or piping: Sew decorative trims or piping along the edges for a sophisticated look.
- Embroider a design: Personalize your pillow cover with embroidery. This could be a monogram, a favorite quote, or a simple design.
- Use fabric paint or dye: Create patterns or designs using fabric paint or dye. This is a great way to add color and personality to your pillow cover.
- Mix and match fabrics: Use different fabrics for the front and back pieces or add a contrasting fabric as a border or accent.
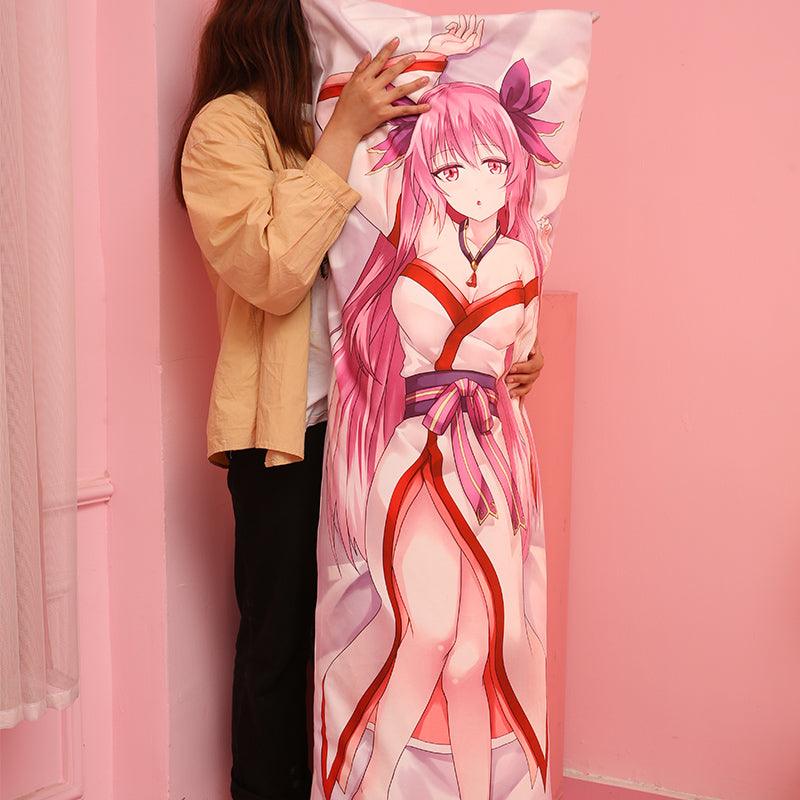
Making a Dakimakura Pillow Cover
A dakimakura is a type of body pillow that is popular in Japanese culture. It is often used for comfort and decorative purposes. Making a custom cover for a dakimakura follows the same basic steps as a standard pillow cover, but with a few adjustments to accommodate its larger size and unique shape.
- Measure the Dakimakura: Measure the full length and width of your dakimakura pillow. Add an extra inch to each measurement for seam allowances.
- Cut the Fabric: Cut two large pieces of fabric according to your measurements. If your dakimakura has a specific shape, make sure to cut the fabric to match.
- Sew the Cover: Follow the same sewing steps as for a standard pillow cover. Consider adding a zipper along one side to make it easy to insert and remove the pillow.
For more ideas and inspiration, you can explore custom dakimakura options here.
Conclusion
Making your own DIY pillow cover at home is a fun and creative project that allows you to add a personal touch to your decor. Whether you’re crafting a cover for a standard pillow or a dakimakura, the process is straightforward and rewarding. With a bit of fabric, some basic sewing supplies, and your creativity, you can create a beautiful and unique pillow cover that perfectly suits your style. So, gather your materials, set up your sewing space, and start creating your custom pillow cover today!
Share this Entry
Business directory
Our Community Partners